If you’re planning to upgrade your driveway, patio, or walkway, interlock installation is a popular and durable solution. Known for its visual appeal and long-term performance, interlocking stone combines function and style for outdoor spaces throughout the GTA.
A professional interlock installation involves several detailed steps to ensure the surface is stable, attractive, and built to last. Here’s what you can expect throughout the process.
Step 1: Initial Consultation and Design
Every project begins with a detailed site evaluation and design consultation. This is when the layout, stone style, and color are selected based on your goals, property layout, and existing landscaping. Measurements are taken, drainage considerations are reviewed, and a clear design plan is created.
You’ll also receive a quote outlining the timeline, cost, and scope of work. It’s a great time to ask questions and adjust the design before materials are ordered.
Step 2: Site Preparation and Excavation
Once the plan is approved, site prep begins. The area is cleared of any existing materials like asphalt, sod, or debris. Professional crews then excavate the site to a proper depth, typically around 8–12 inches depending on usage and soil conditions.
Proper excavation is key to preventing settling and drainage issues later on. This phase may also include installation of drainage channels or grading adjustments to redirect water away from your home.
Step 3: Base and Edge Installation
After excavation, a compacted gravel base is installed in layers to support the interlocking stones. Each layer is thoroughly compacted to eliminate air pockets and create a stable foundation. A thin layer of bedding sand is added on top for precise leveling.
Edge restraints are installed to lock the pavers in place and prevent shifting over time. These invisible supports ensure the longevity of your interlock installation.
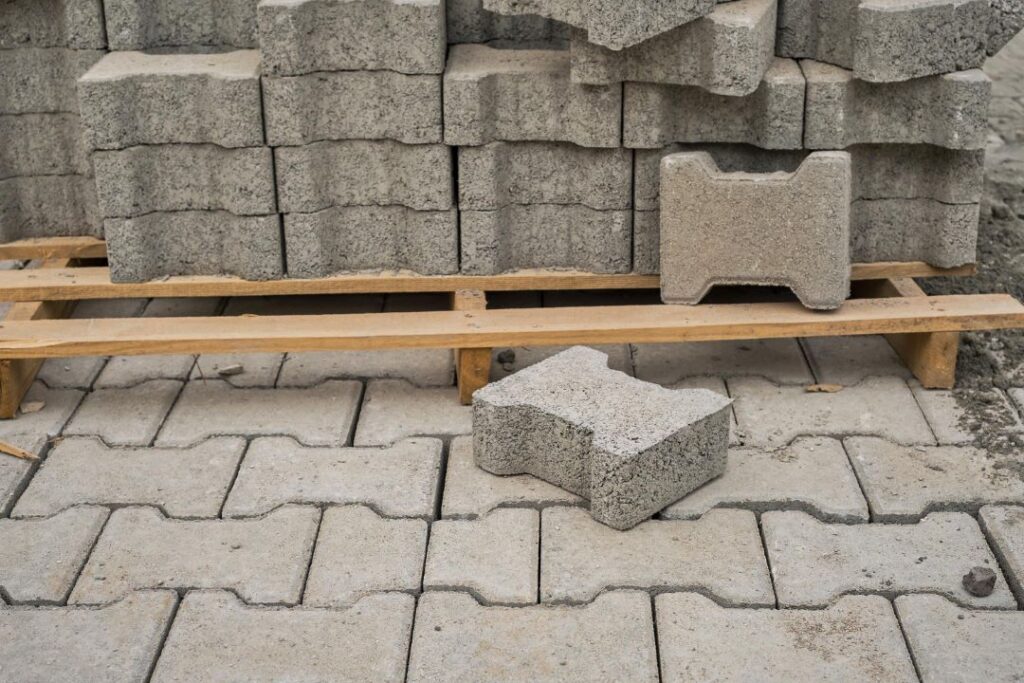
Step 4: Laying the Interlocking Stones
Next, the chosen pavers are laid out according to the pattern and design plan. Professionals work carefully to ensure alignment and spacing are consistent throughout. Cutting may be required along edges or around features to ensure a tight, custom fit.
Once laid, a plate compactor is run over the surface to embed the pavers into the bedding layer. Polymeric sand is then swept into the joints and activated with water to bind everything together and resist weed growth and erosion.
Step 5: Cleanup and Final Inspection
After the stones are set, the crew will clean up the site, remove any excess materials, and perform a final walkthrough with you to ensure satisfaction. The surface is inspected for levelness, stability, and clean lines. In most cases, your new interlock space is ready to enjoy within a day or two of completion.
To start planning your project or to get expert advice on layout and materials, contact BYG Landscaping today.
Frequently Asked Questions
How long does a typical interlock installation take?
Most residential projects take between 2 to 5 days depending on size, site conditions, and weather. Larger or more complex designs may take a bit longer.
Is interlock better than concrete or asphalt?
Interlock is more flexible and less prone to cracking. It also offers more design options and easier repairs since individual pavers can be replaced as needed.
Do I need to worry about drainage with interlock?
Not if it’s installed professionally. Proper grading, base prep, and optional drainage systems ensure water flows away from your home and foundation.
How long does an interlock surface last?
With quality materials and proper installation, interlock can last 25 years or more. Occasional re-sanding or leveling may be needed over time.
Can I drive on my interlock driveway right away?
Yes, once the installation is complete and the sand has set, the surface is ready for use. Your contractor will confirm when it’s safe to drive or park on it.